HDFS to Kafka Sync App
Summary
This application reads lines from configured HDFS path and writes each line as a message in configured Apache Kafka topic. This document illustrates step by step guide to launch, configure, customize this application.The source code is available at: https://github.com/DataTorrent/app-templates/tree/master/hdfs-to-kafka-sync.
Please send feedback or feature requests to: feedback@datatorrent.com
Steps to launch application
-
Click on the AppHub tab from the top navigation bar.

-
Page listing the applications available on AppHub is displayed. Search for Kafka to see all applications related to Kafka.
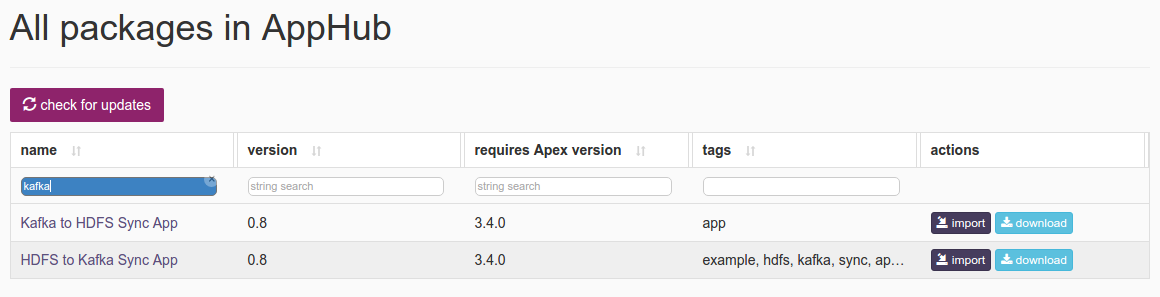 Click on import button for
 HDFS to Kafka Sync App -
Notification is displayed on the top right corner after application package is successfully imported.

-
Click on the link in the notification which navigates to the page for this application package.
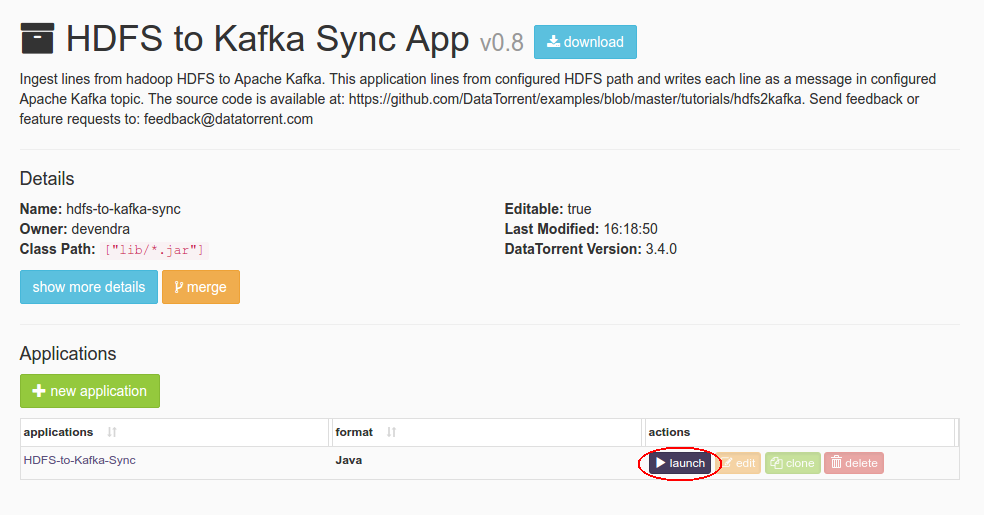 Detailed information about the application package like version, last modified time, and short description is available on this page. Click on launch button for
 HDFS to Kafka Syncapplication. -
Launch HDFS-to-Kafka-Syncdialogue is displayed. One can configure name of this instance of the application from this dialogue.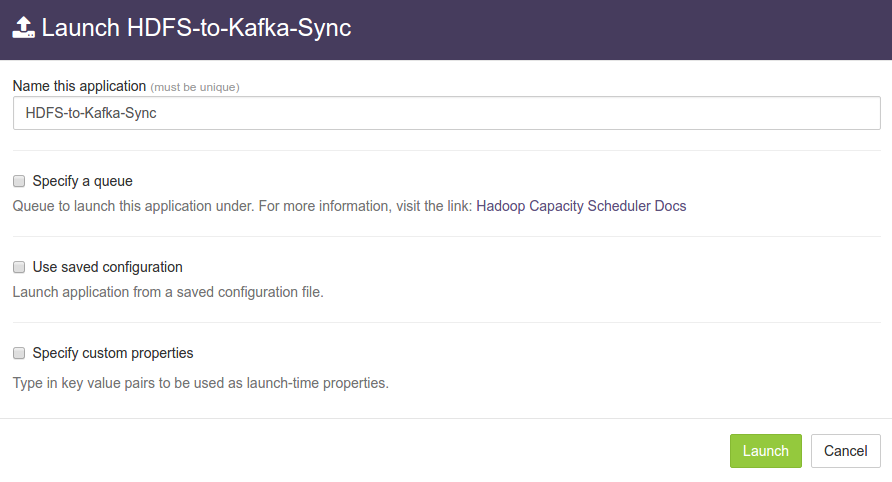
-
Select
Use saved configurationoption. This displays list of pre-saved configurations. Please selectsandbox-memory-conf.xmlorcluster-memory-conf.xmldepending on whether your environment is the DataTorrent sandbox, or other cluster.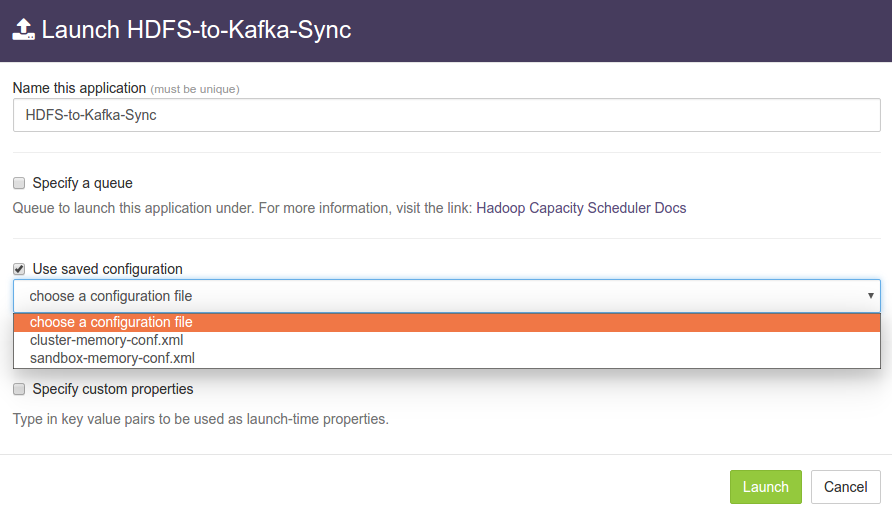
-
Select
Specify custom propertiesoption. Click onadd default propertiesbutton.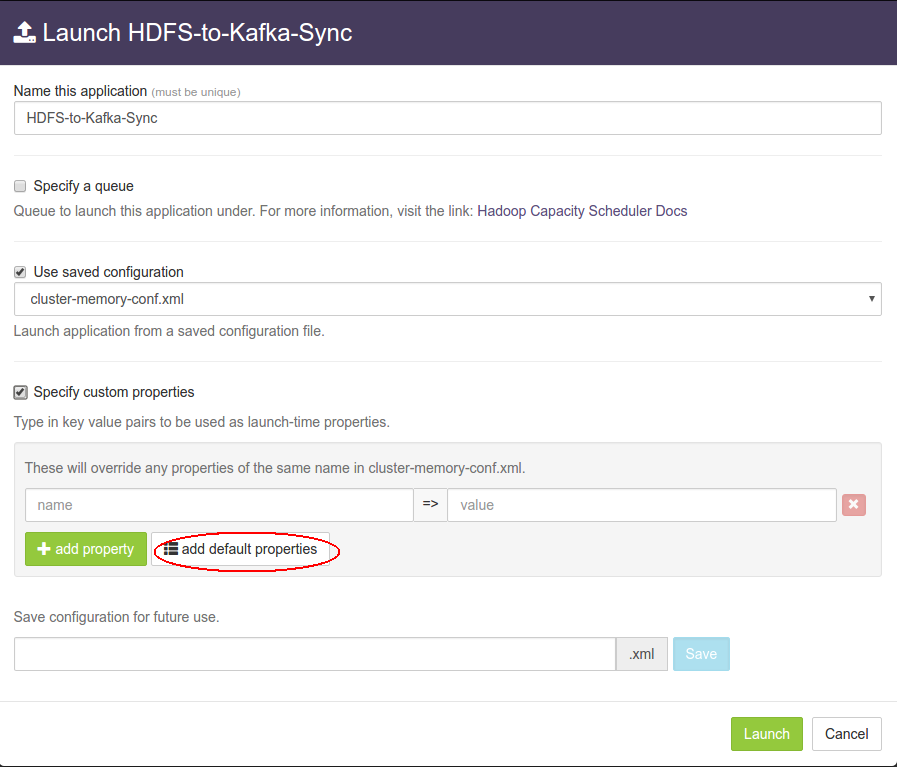
-
This a expands key-value editor pre-populated with mandatory properties for this application. Change values as needed.
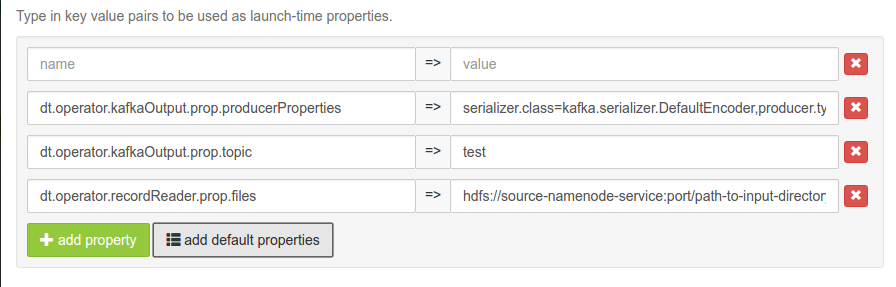 For example, suppose we wish to process lines from all files in
 /user/appuser/inputfromsource-clusterand send the output to kafka onkafka-server-nodewith topictest. Properties should be set as follows:name value dt.operator.kafkaOutput.prop.producerProperties serializer.class=kafka.serializer. DefaultEncoder,
producer.type= async,
metadata.broker. list=kafka-server-node:9092dt.operator.kafkaOutput.prop.topic test dt.operator.recordReader.prop.files /user/appuser/input Details about configuration options are available in Configuration options section.
-
Click on
Launchbutton on lower right corner to launch the application. Notification is displayed on the top right corner after application is launched successfully and includes the Application ID which can be used to monitor this instance and find its logs.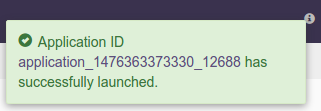
-
Click on the
Monitortab from the top navigation bar.
-
A page listing all running applications is displayed. Search for current application based on name or application id or any other relevant field. Click on the application name or id to navigate to application instance details page.

-
Application instance details page shows key metrics for monitoring the application status. The
logicaltab shows application DAG, Stram events, operator status based on logical operators, stream status, and a chart with key metrics.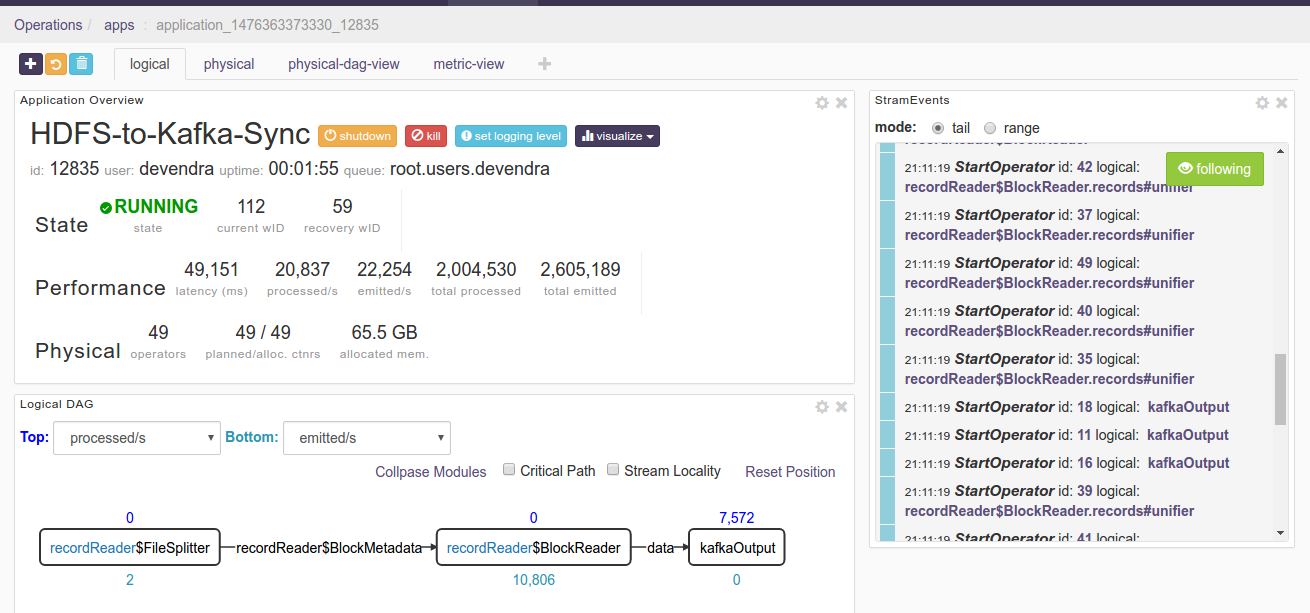
-
Click on the
physicaltab to look at the status of physical instances of the operator, containers etc.
Configuration options
Mandatory properties
End user must specify the values for these properties.
| Property | Description | Type | Example |
|---|---|---|---|
| dt.operator.kafkaOutput. prop.producerProperties | Properties for Kafka producer | Comma separated String | serializer.class=kafka.serializer.DefaultEncoder, producer.type=async, metadata.broker.list=kafka-server-node:9092 |
| dt.operator.kafkaOutput .prop.topic | Kafka topic for output records | String | test |
| dt.operator.recordReader prop.files |
HDFS path for input file or directory | String |
|
Advanced properties
There are pre-saved configurations based on the application environment. Recommended settings for datatorrent sandbox edition are in sandbox-memory-conf.xml and for a cluster environment in cluster-memory-conf.xml.
| Property | Description | Type | Cluster default | Sandbox default |
|---|---|---|---|---|
dt.operator.recordReader.prop.minReaders |
Minimum number of BlockReader partitions for parallel reading. | int | 1 | 1 |
dt.operator.recordReader.prop.maxReaders |
Maximum number of BlockReader partitions for parallel reading. | int | 16 | 1 |
dt.operator.kafkaOutput.attr.PARTITIONER |
Partitoning for Kafka output operator | String | See (1) | See (2) |
- Cluster default: com.datatorrent.common.partitioner.StatelessPartitioner:16
- Sandbox default: com.datatorrent.common.partitioner.StatelessPartitioner:1
You can override default values for advanced properties by specifying custom values for these properties in the step specify custom property step mentioned in steps to launch an application.
Steps to customize the application
-
Make sure you have following utilities installed on your machine and available on
PATHin environment variables -
Use following command to clone the examples repository:
git clone git@github.com:DataTorrent/app-templates.git -
Change directory to
examples/tutorials/hdfs-to-kafka-sync:cd examples/tutorials/hdfs-to-kafka-sync -
Import this maven project in your favorite IDE (e.g. eclipse).
-
Change the source code as per your requirements. Some tips are given as commented blocks in
Application.javafor this project. -
Make respective changes in the test case and
properties.xmlbased on your environment. -
Compile this project using maven:
mvn clean packageThis will generate the application package with the
.apaextension inside thetargetdirectory. -
Go to DataTorrent UI Management console on web browser. Click on the
Developtab from the top navigation bar.
-
Click on
upload packagebutton and upload the generated.apafile.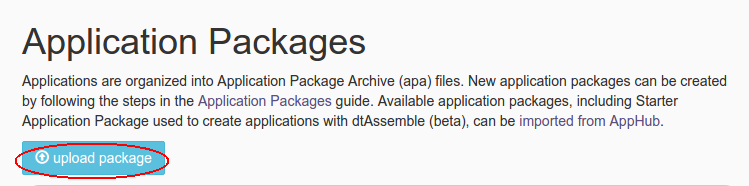
-
Application package page is shown with the listing of all packages. Click on the
Launchbutton for the uploaded application package. Follow the steps for launching an application.